Dressed for Rain: Giving the Water Butt a Place in the Planting Plan
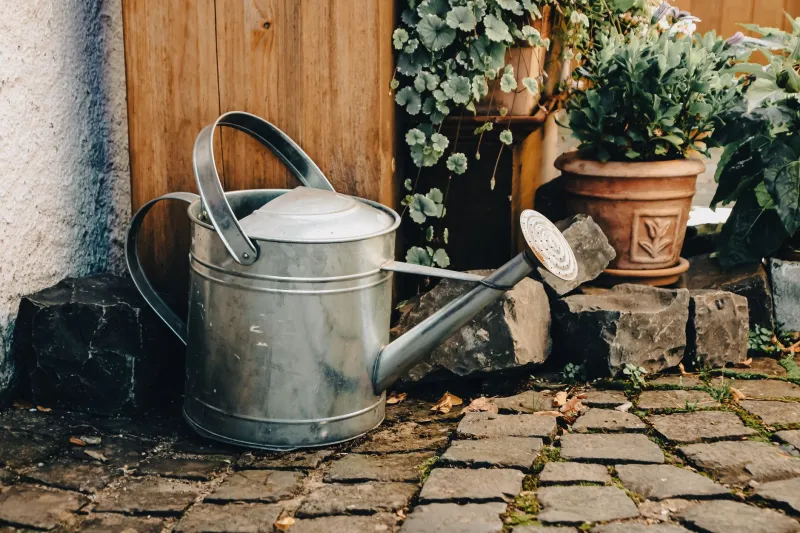
November is the honest month. The leaves are down, the planting is see-through, and everything you hid behind the summer growth is suddenly on show — including, in most British gardens, a green plastic cylinder with a lid that has seen better days.
A water butt is not a compromise. It is free water, delivered to your door by the weather, and in a metered household it pays for itself in roughly two summers. The trouble is that we install them like white goods: shoved against a wall, tap at ankle height, hose trailing. It doesn't have to be that way. Treat it as an object with a footprint and a job, and it becomes part of the garden rather than a hole in it.
Site it properly before you dress it
Style comes second. The first question is where the water actually wants to be, and that is usually within a metre of a downpipe, on ground that stays level and firm all winter.
A full butt is heavy — a 200-litre one weighs the best part of a quarter of a tonne — so decking is out, and a wobbling paving slab is worse than no base at all. A square of compacted gravel with a paving slab set into it, or a small paved pad, will hold it steady and stop the base rotting into mud. Put it in shade if you can. Light plus nutrients plus a warm day equals green water, and nobody wants to be watering the roses with pea soup.
Then think about the walk. You will make that trip with a full watering can in the rain, in the dark, in February. Leave a metre of clear ground in front of the tap, and lift the tap if you can. A stand that raises the outlet to watering-can height is the single best upgrade you can make, and it also gives you the volume underneath to hide something else.
The cheapest screen is a plant
Before you build anything, try three pots. A cluster of containers in front of a butt does more work than most people expect: it breaks the silhouette, hides the tap and gives you somewhere to put the things that need watching over winter.
Go for plants that don't mind the drip and the shade — ferns, heuchera in a dark plum, a sarcococca for the January scent, ivy tumbling out of a terracotta pot. Use one taller pot on an upturned crate or a small plinth to interrupt the straight vertical line; a butt looks a great deal less like a butt when something is half-covering it.
This is the point where the water butt quietly joins the container garden. You are watering the pots from the thing the pots are hiding, which is either neat or faintly absurd, and I'd argue both.
Screens that still open
The classic mistake is to build a beautiful fixed screen and then realise you can't reach the lid, the tap or the overflow. Whatever you make, it needs a hinge, a latch, or a panel that lifts out entirely.
Things that work well in a British garden:
- Larch or oak slats on a simple frame, hinged at one side. Cheap, weathers to silver, and the vertical rhythm echoes a fence.
- Willow hurdles, cut to size and tied to battens, so the whole panel can be lifted off. They last three or four years before they go brittle — treat them as a renewable rather than permanent.
- Trellis with an evergreen climber. Ivy will do the job anywhere; trachelospermum is worth trying in a sheltered corner. Keep the growth off the lid.
- A painted timber box with one removable side. Best if the butt is a slimline model.
What doesn't work: bamboo screening rolls. They look plausible in the shop and go mouldy and brittle by the second winter, and they never quite cover the top.
If painting the butt itself appeals, check the plastic first. Most butts are high-density polyethylene and standard masonry paint will flake off by spring; a plastic-specific primer plus a topcoat can work, but honestly, buying a butt in a muted colour — dark green, oak-effect, or one of the terracotta-toned designs now widely sold — is less work and lasts longer.
The overflow is the bit everyone forgets
Here is the practical truth about British autumn rain: a 200-litre butt connected to a decent roof area will fill in a single heavy afternoon. Possibly an hour. After that, everything you didn't plan for is running down the wall.
So plan the overflow before the first storm, not during it. Three options:
- Link a second butt in series. A connector kit costs very little and doubles your storage for the same footprint.
- Direct the overflow to a rain garden — a shallow planted depression, or a gravel-filled trench — a couple of metres from the house.
- Feed a soakaway, again well clear of foundations and any change in ground level.
Keep the water on your own property if you're on a combined sewer, and keep it away from the wall of the house. A diverter kit rather than a straight-cut downpipe is worth the extra twenty pounds: it lets you switch the flow back to the drain in winter, and it doesn't block the pipe with leaves.
Small gardens, and cold snaps
A courtyard or a narrow side return doesn't need to go without. Slimline and wall-mounted butts of 100 litres are easy to tuck behind a gate or under a hedge, and 100 litres is ten good watering cans — enough for a fortnight of pots in July.
Come the cold, do the boring checks. Empty the butt before a hard freeze rather than after, so a split seam isn't your February surprise. Clear leaves from the gutter guard. Check the stand hasn't sunk. And if the butt sits on a corner that catches the wind, make sure it's strapped — an empty one will go over.
The honest verdict
The cottage garden has always been a place where practical things were made pleasant, not concealed. The butt against the wall, the water rising in it all winter, the pots at its feet — that's not a compromise dressed up. It's the garden doing two jobs at once, which is what it has always done best.