Stems That Earn Their Keep: A November Drying Route Through the House
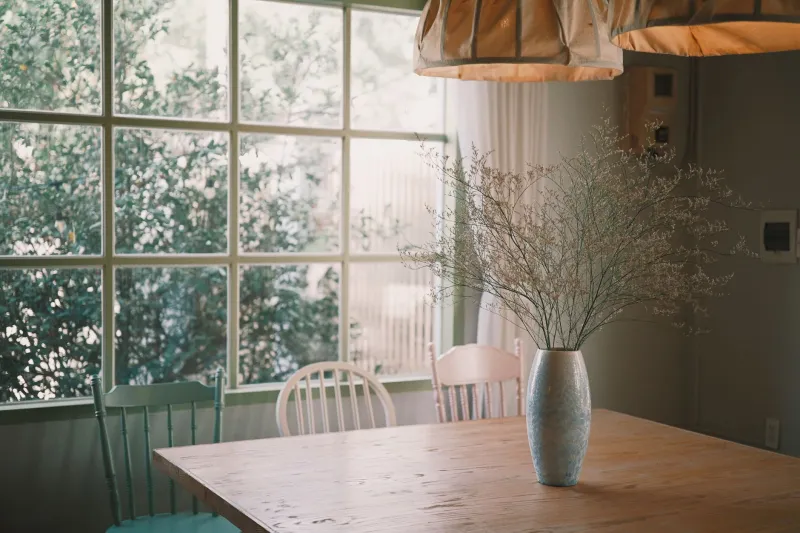
By November, the cutting garden has usually given all it can. The sweet peas are done, the cosmos is blackened at the edges, and the last of the dahlias are sulking under fleece. It would be easy to write the whole patch off until spring. But there is still a quieter harvest to bring in: hydrangea heads gone papery, grasses that hold their shape, allium skeletons, honesty, teasels, poppy pods and bunches of herbs that will scent a hallway long after the garden has gone grey.
The trick is not simply to cut and hope. Dried flowers have a reputation for being dusty, brittle and faintly sad — the sort of thing found behind a wardrobe in a previous decade. Handled well, though, they are one of the most useful things a small cutting garden can give you. The plan below moves through the house, because different rooms offer different conditions, and because a dried stem should look as if it belongs where it ends up.
Porch: the first stop for anything damp
The porch is the transition zone, and in a British November it is often the coolest, airiest place you have. That makes it useful. Bring in stems on a dry morning if you can, shake off any loose seed and strip the lower leaves straight away. Leaves are the enemy of good drying: they hold moisture, go limp and make a bundle look messy before it has even begun to work.
For hanging, tie small bunches with garden twine and leave a generous loop. Small bunches dry faster and are less likely to rot in the middle. Hang them upside down from a hook, a nail or a length of string across the porch, well clear of the door swing. Grasses, lavender, rosemary and bay all take kindly to this. If the porch is damp or steamy, though, do not leave them there long — move them to a drier spot once the worst of the surface moisture has gone.
Hydrangeas are the exception. Many gardeners get better results by cutting them once the flower heads feel papery to the touch, then standing the stems in a vase with an inch or two of water and letting that water disappear over a few weeks. The porch is a good place for this if it is sheltered from rain and wind. Do not top the water up. The idea is a slow finish, not a fresh bouquet.
Hall: the drying corridor
A hallway with a bit of air moving through it is ideal for the next stage. It is usually cooler than the kitchen and less bright than a windowsill, which matters because strong sunlight bleaches colour out of stems. Hang bunches here on a coat rack, an old larder rail or a simple row of hooks. Keep them away from radiators and from the blast of heat when the front door opens onto a warm house.
This is the place for seedheads that need to hang upright or be bagged. Poppy pods and nigella can be stood in a paper bag, stems up, so that any loose seed is caught rather than scattered across the floor. Alliums are best hung and allowed to dry slowly; their heads will hold their shape, but they shatter if rushed. If you have children or a curious cat, hang things higher than you think you need to.
A word on central heating: it is the quiet ruiner of dried stems. A house kept warm and dry will pull moisture out of plant tissue very quickly, which sounds efficient but often makes stems brittle and colourless. Keep drying bunches in the coolest, least heated part of the hall, and do not put them directly above a radiator in the name of speed.
Kitchen: herbs, but not above the hob
The kitchen is tempting because herbs belong there, but it is also the steamiest room in the house. Rosemary, bay, thyme and oregano will dry happily in a kitchen so long as they are not hanging over a boiling pan or beside the kettle. A high shelf away from the cooker, or a corner near a window that gets a little airflow, is better than a picturesque bunch over the Range.
For small quantities, lay herbs on a wire rack lined with newspaper or a clean tea towel. Turn them every day or two. This works well for thyme and oregano, which can otherwise clump in a hanging bunch. Bay is slower and sturdier; a small bundle hung in a cool larder or hall will keep its colour better than one blasted by kitchen heat.
Once dry, strip the leaves and store them in labelled jars. This is the point where the cutting garden stops being decorative and becomes genuinely useful. A jar of home-dried oregano on a dark November evening is a small, quiet triumph.
Sitting room: the arrangement, not the archive
The sitting room is where dried stems either earn their place or become clutter. The difference is editing. Choose one or two arrangements rather than lining every shelf with bunches. A tall vase of grasses and allium heads in a corner can carry a whole room; a row of small jars on a mantelpiece can look like a jumble sale.
Keep arrangements away from direct heat and strong sun. A dried stem in a hot, bright spot will fade and crumble. And do not be afraid to cut stems down. Dried flowers often look better in a low bowl or a short jug than in a tall bouquet, especially in a small room. Mix textures — feathery grasses with round seedheads, dark honesty discs with pale hydrangea — and keep the colour palette tight. Two or three tones will look intentional; a rainbow will not.
Finally, give yourself permission to rotate. Dried stems are not forever. By February, some will have done their job. Compost them without guilt and bring in something else: forced bulbs, a few early branches, a handful of evergreen. The cutting garden's second act is not about preserving every stem until doomsday. It is about letting the garden keep giving, room by room, until the first proper signs of spring make the whole question academic.